How To Connect To Your Forex VPS With Windows?
This
tutorial will show you how to connect to your VPS using the Remote Desktop
Program (RDP) from Windows.
Microsoft integrated Windows
Remote Desktop Program into all Windows versions from XP on, so you don't need
to install any additional programs. In our tutorial, we use Windows 10. The
process in the other versions is almost identical.
After completing payment and
activating your VPS Server, you will receive an email. It would help if you
took note of the following:
- Your DigitalForex VPS IP
address (IP:port),
- Username
- Password
On your Windows 10 system,
let's start by clicking on the Start menu:
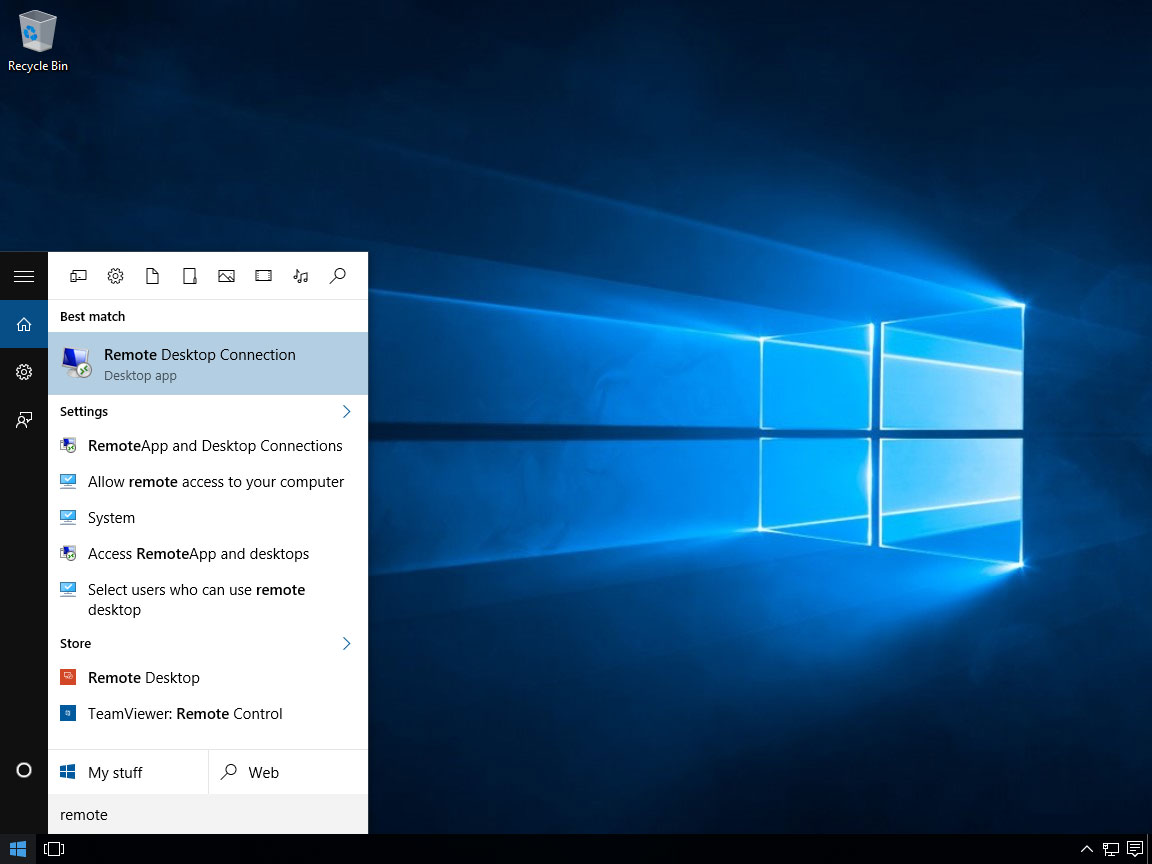
In the Start menu, please
start typing Remote Desktop Program and press [Enter]:
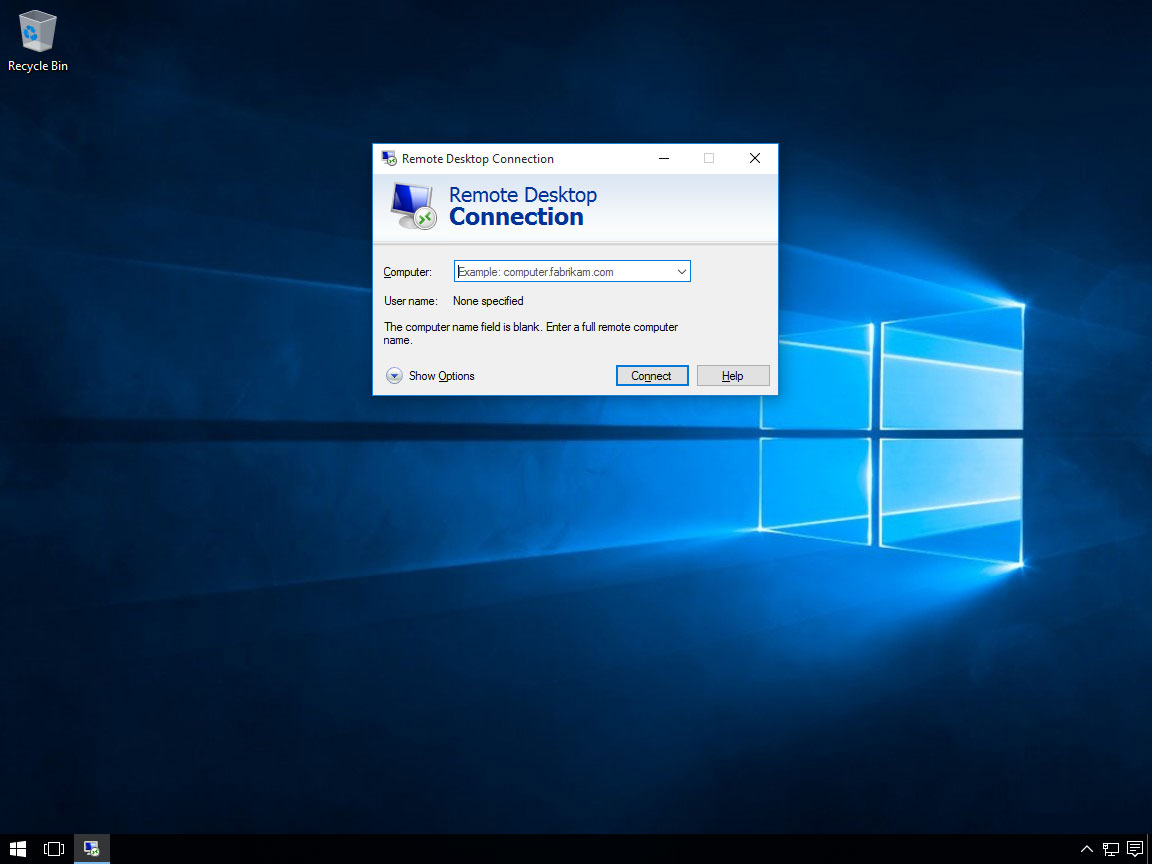
You should see with the Remote
Desktop Program. Now, please click on Show Options:
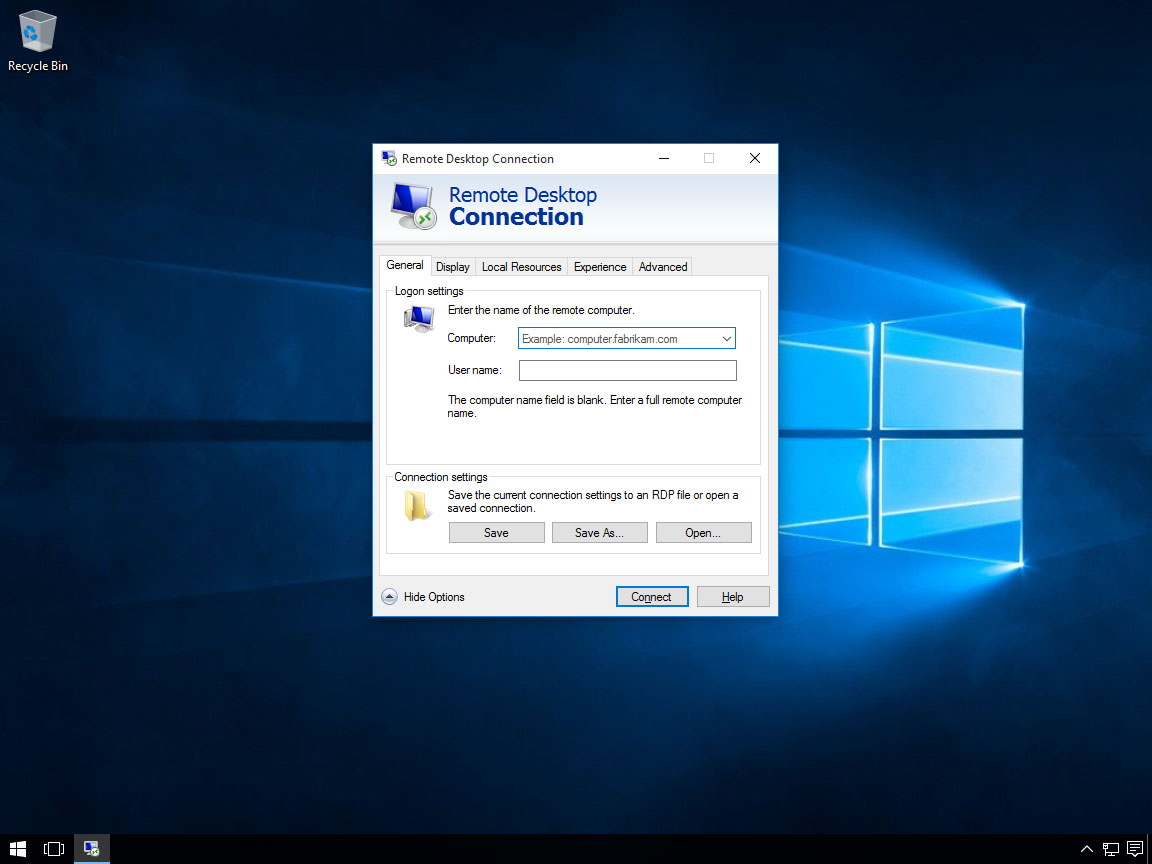
We will look into some
settings first:
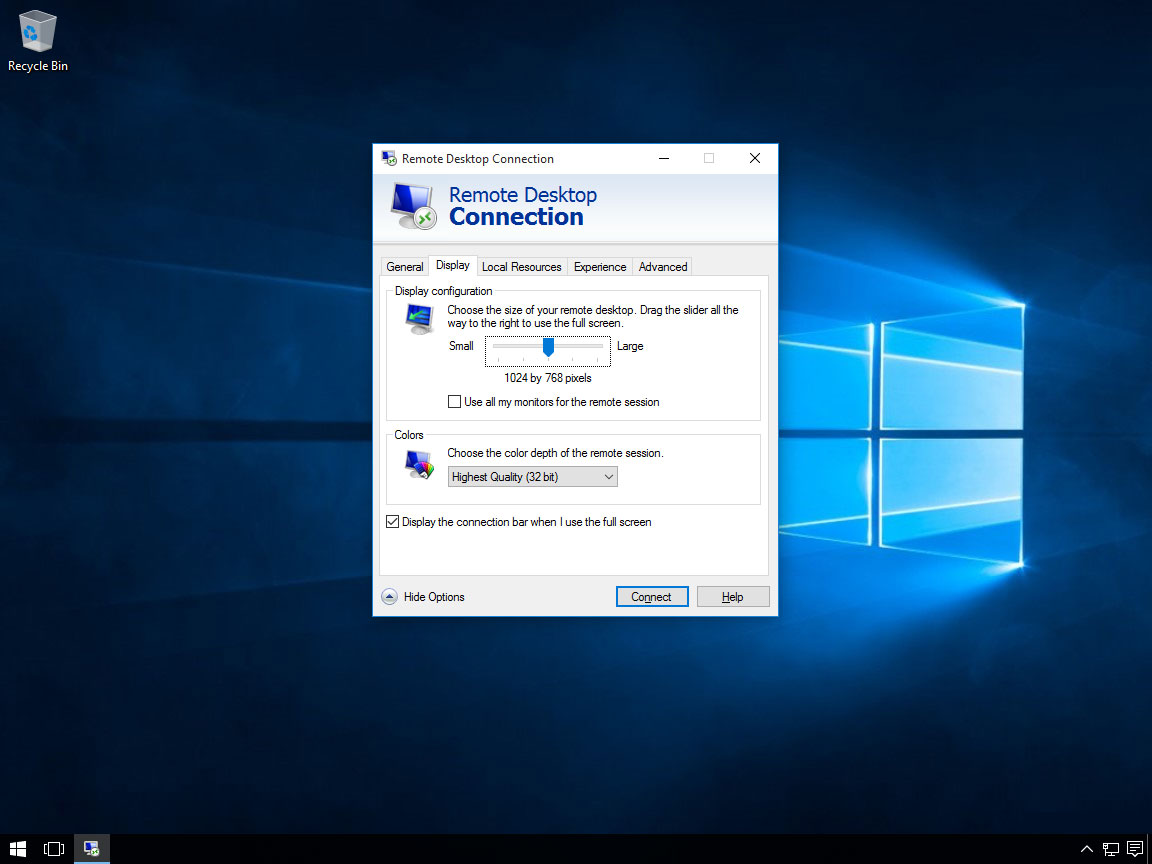
Go to the "Display" tab.
Here you can set the resolution for your RDP connection:
In the next tab, "Local
Resources," you can share your Clipboard (so you can Copy/Paste between
your local machine and VPS):
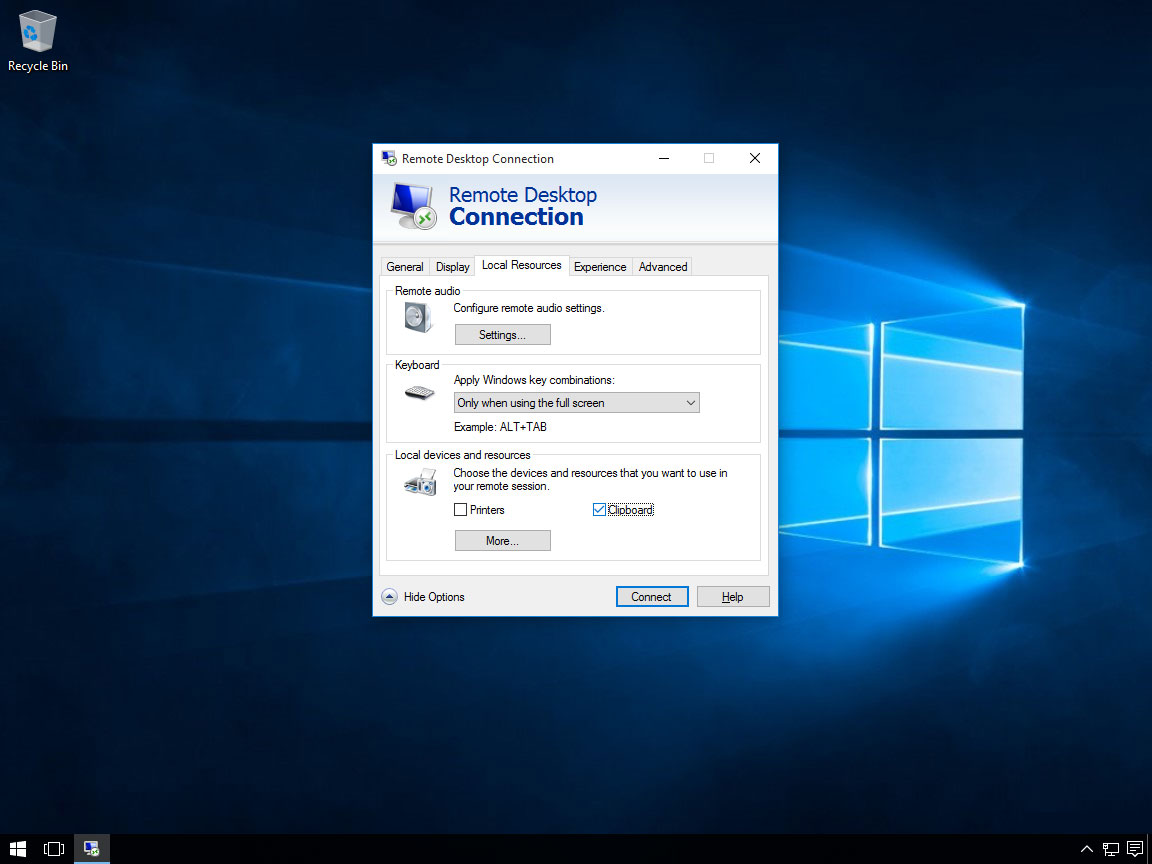
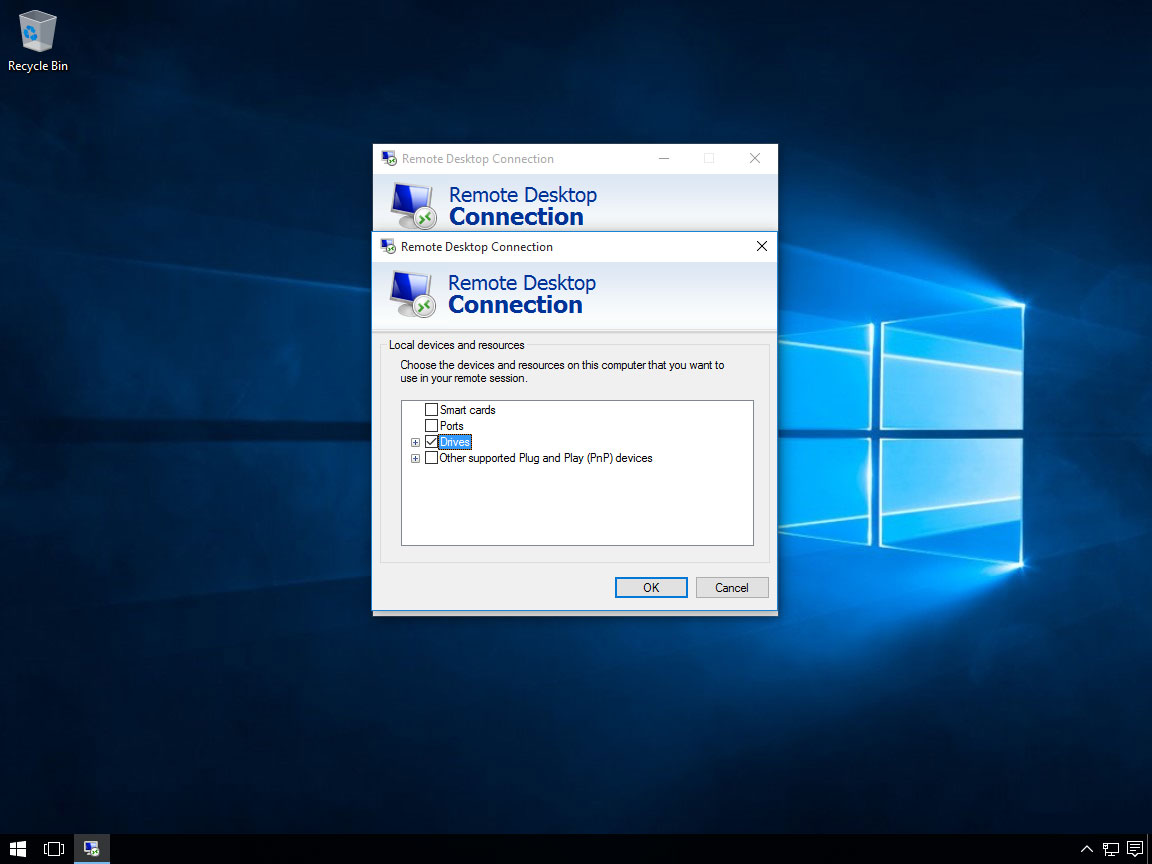
If you click on the More,
you can also share your local disk so you will have the ability to copy files
to/from your VPS:
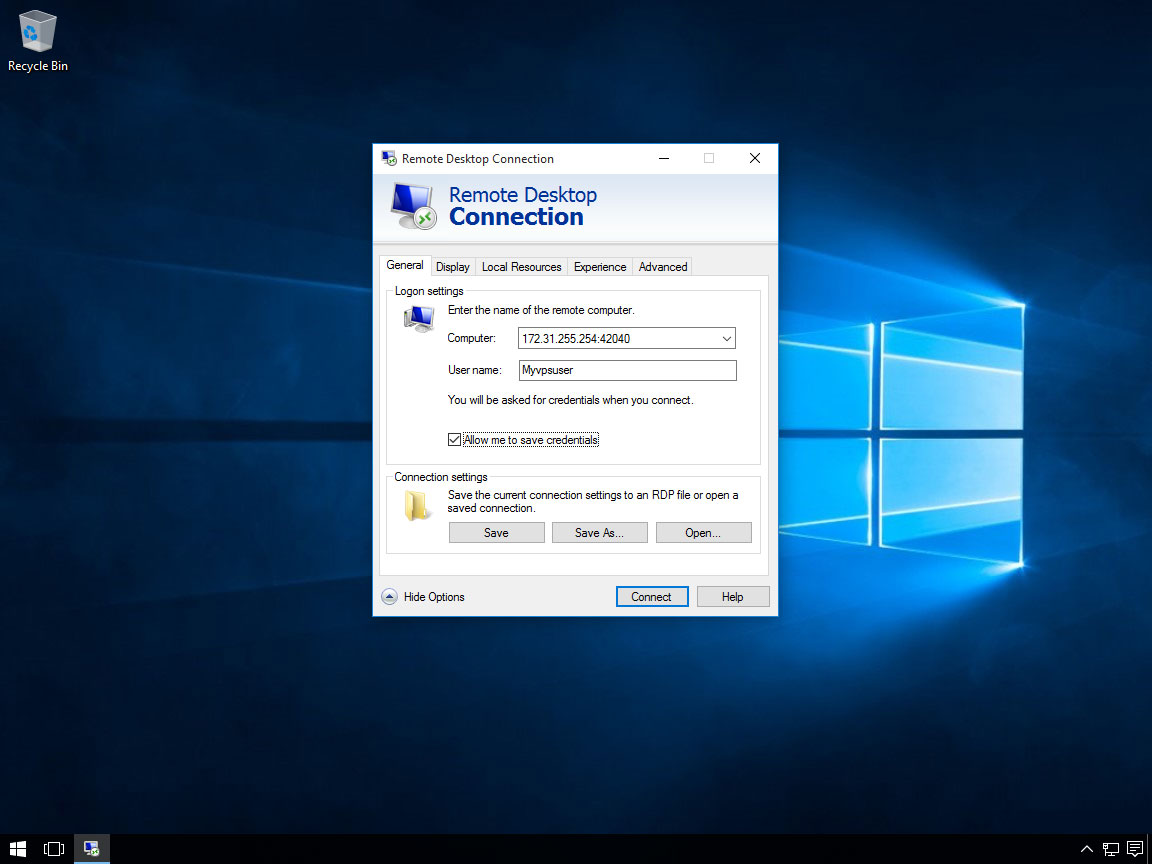
Now let's go back to the "General" tab.
We recommend checking to "Allow me
to save credentials box" so you won't need to enter your VPS
password next time.
Enter your VPS IP address (IP: port) and
username in the fields below you received in your email, then click "Connect":
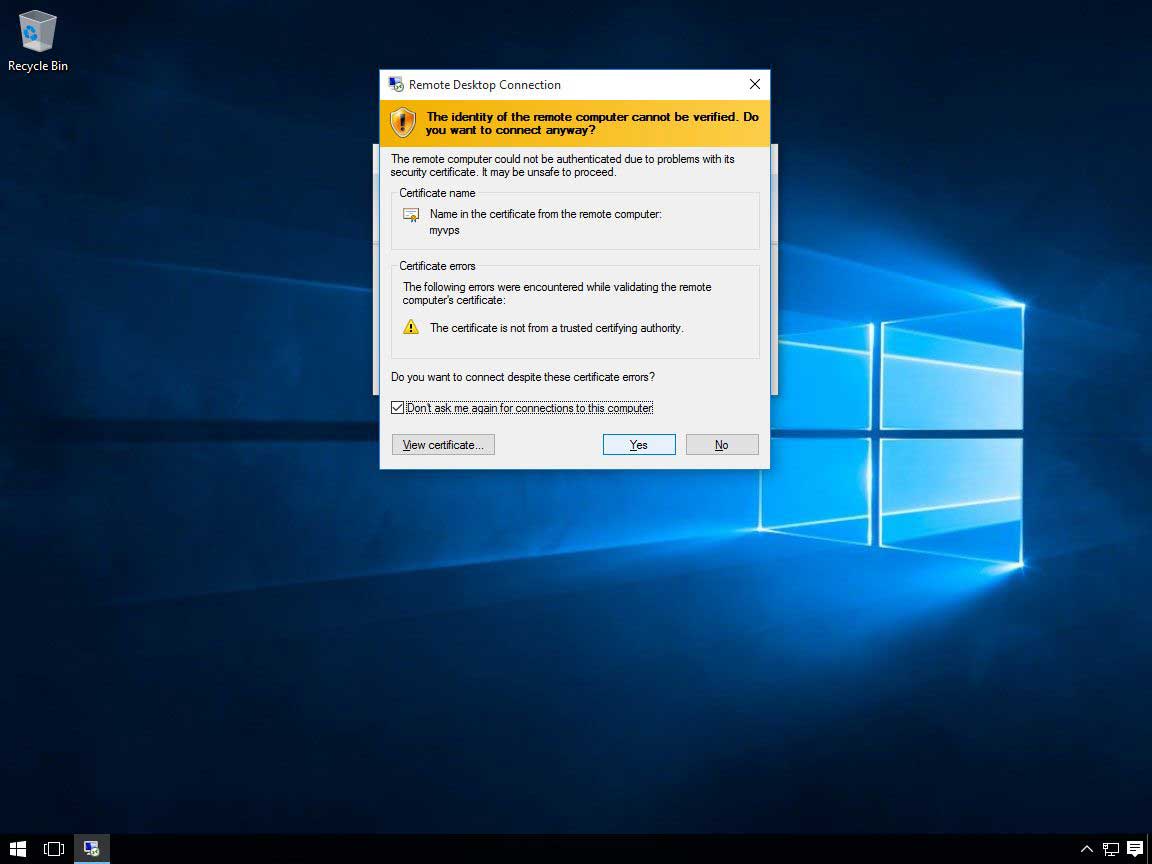
You will be asked accept
DigitalForex VPS certificate.
Please check the box for "Don't ask
me again for connections to this computer" and click on Yes:
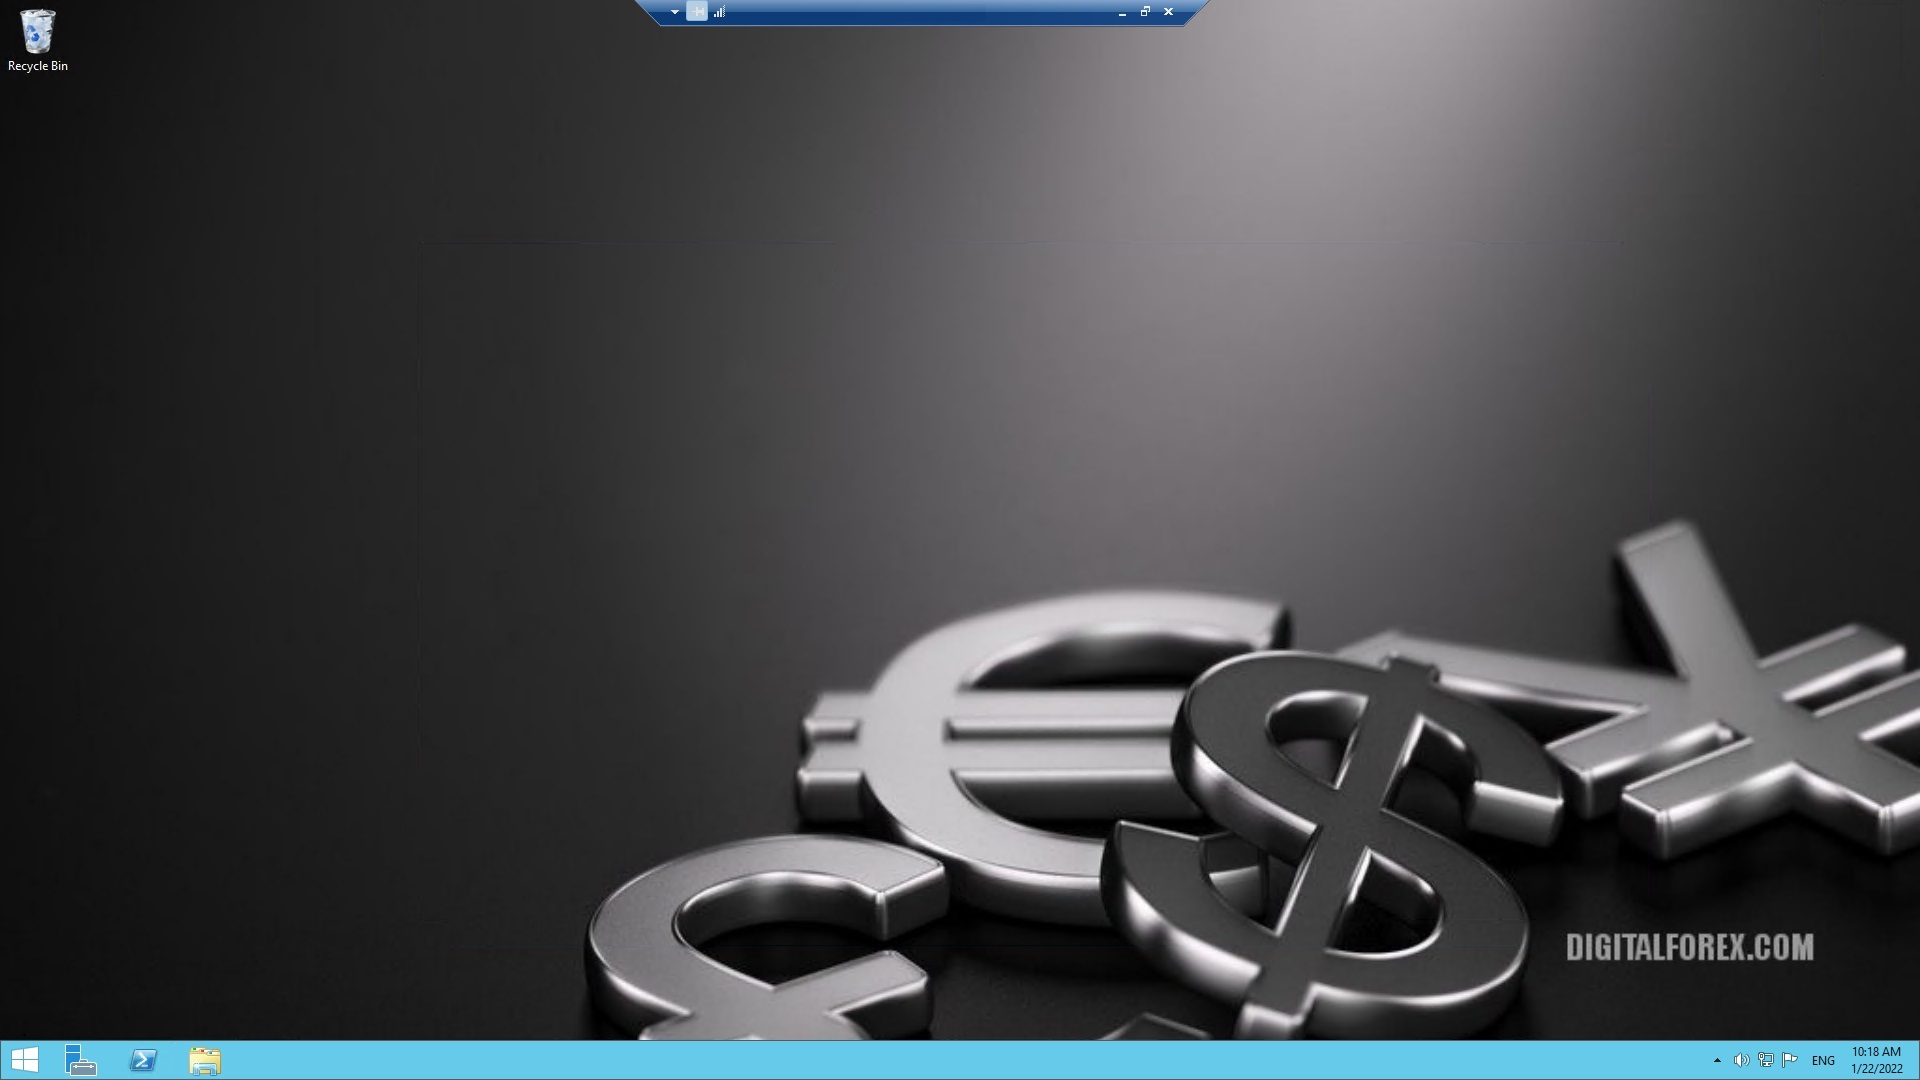
You should see a Windows Desktop with a gray background - this is your VPS desktop.
Contact Us
Powered by WHMCompleteSolution